Getting started
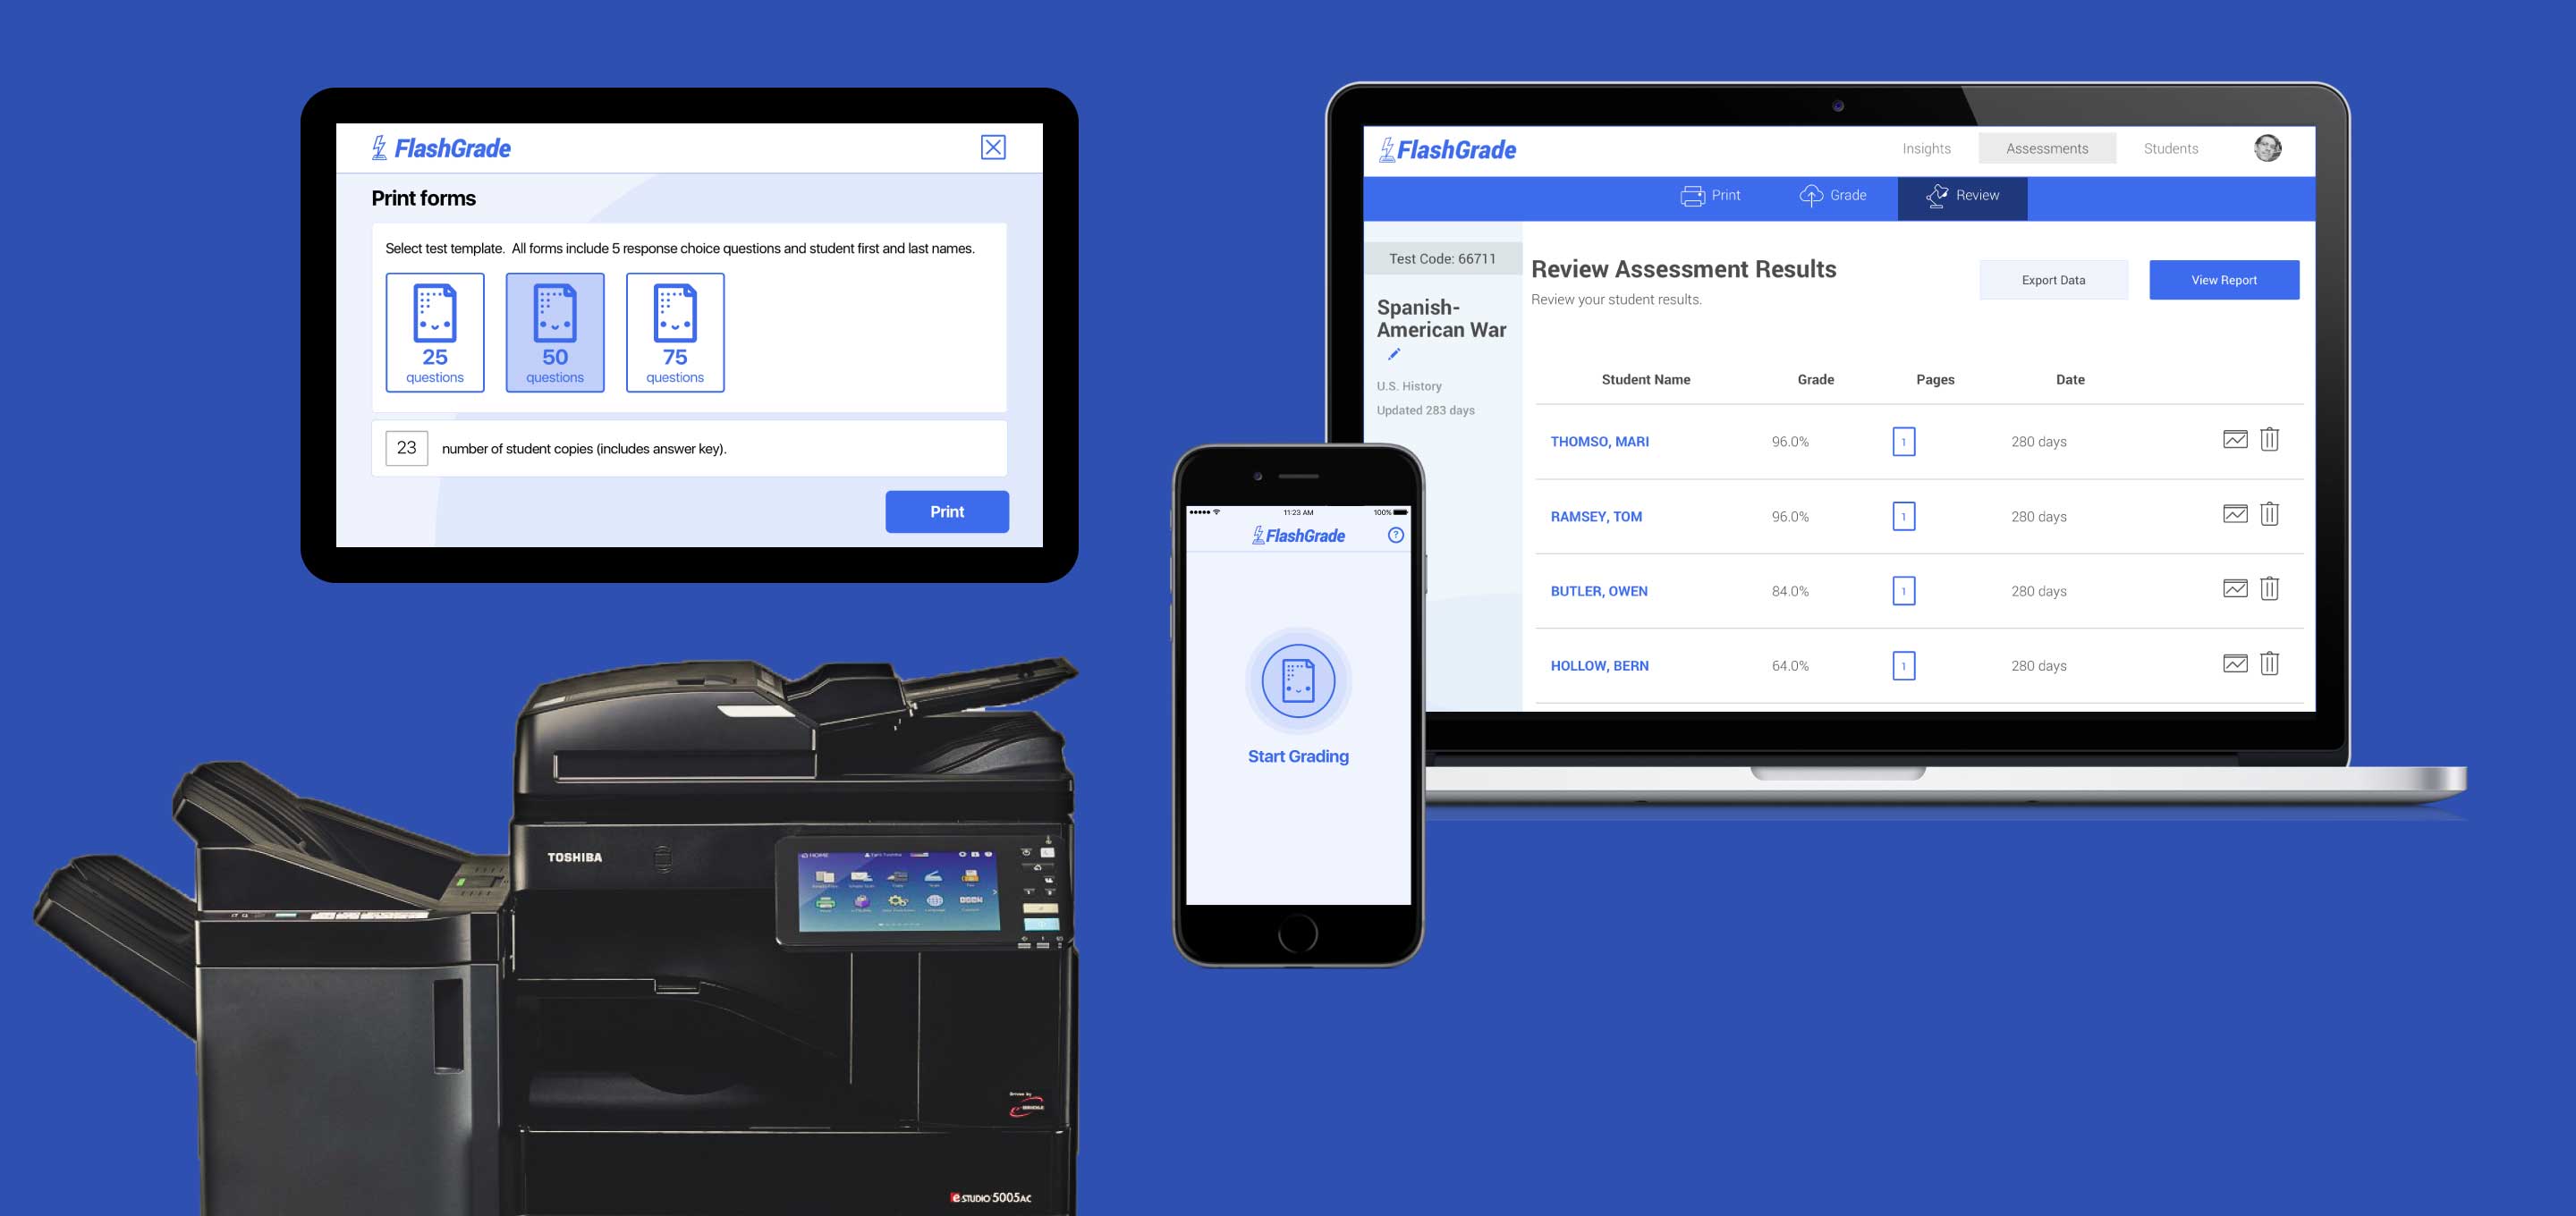
Welcome to FlashGrade! Use this site to learn about FlashGrade Cloud’s core features. FlashGrade is designed for educators in mind. Our goal is to help educators increase their productivity and lower the cost of printing and grading multiple-choice tests.


What's new
Get the latest on new features coming to the FlashGrade Cloud.
FlashGrade Cloud
April 1, 2018
Grade tests from any printer
Tests can now be graded from any printer using the Scan to Email feature of your printer. Follow the instructions below to get your test results.
Scan to Email
- Load your answer key followed by the test sheets in the document feeder of your printer.
- Select the following Scan Settings in your printer (if applicable):
- Color Mode: Black and White
- Original Mode: Text/Photo
- Resolution: 200 dpi
- Single/2-Sided: Single
- Document Type: PDF
- Email the tests in a single batch to scan@flashgrade.com.
- Do not exceed more than 50 test sheets in a batch.
Retrieve tests
All your tests are securely saved in the FlashGrade Cloud. Retrieve tests you emailed from your printer.
- From your FlashGrade user account, go to Assessments.
- Click on + (plus) icon.
- Enter Title, Class, and Test Code. The Test Code is located in the upper right corner of the answer key.
- Click on Create.
If the test is already retrieved, any new scores will be automatically added to the list of results.
September 11, 2017
New 200 question template
- A 200 question template is now available to all our customers. The 200 question template will be printed in two separate paper sheets. When grading, sort the test sheets in order to get the correct student results. Customers now have the option to select from 25, 50, 75 and 200 question templates.
August 28, 2017
General enhancements
- The circles in the test sheets were increased in size to improve grading accuracy and the consistency of test results. To get the best results, use a No. 2 pencil or a pen. Fill all circles completely and erase any errors or stray marks. Incomplete marks or erasures may affect your scores.
- Only the questions that teachers mark on the answer key will be counted. For example, if the teacher fills in the first 15 questions on an answer key using a 25 question template, the application will only grade the first 15 questions of the student forms and ignore the other 10 quetions (bubbles).
FlashGrade for Toshiba multifunction printers
August 28, 2017
Performance Improvements
-
The number of tests the application can grade in a single batch depends on a number of factors such as the network connection, printer model and printer settings. To handle higher test loads, we recommend to change the value of the auto clear timer in the multifunction printer. Auto clear controls the timeout length.
- Login to Toshiba MFP from TopAccess using admin user.
- Navigate to Administration tab > Setup menu > General submenu.
- Go to Energy Save > Auto Clear.
- Select the value for the auto clear timer.
For your reference, we got the following results in our test machine. Your results may differ from ours.
Auto Clear Tests graded in a single batch 45 seconds 30 tests 60 seconds 50 tests 90 seconds 80 tests -
Select the following Scan Settings for optimum grading results:
- Color Mode: Black and White
- Original Mode: Text/Photo
- Resolution: 200 dpi
- Single/2-Sided: Single

Grading online
Get the benefits of printing and grading tests from any web browser.
Retrieve tests
All your tests are securely saved and available from the FlashGrade Cloud. Retrieve tests you graded in the multifunction printer.
- From your FlashGrade user account, go to Assessments.
- Click on + (plus) icon.
- Enter Title, Class, and Test Code. The Test Code is located in the upper right corner of the answer key you printed in the Toshiba multifunction printer.
- Click on Create.
Create tests
You have the option to print tests from your online account.
- From your FlashGrade user account, go to Assessments.
- Click on + (plus) icon.
- Enter Title and Class.
- Click on Create.
Print tests
You have the option to print tests from your online account.
- From your FlashGrade user account, go to Assessments.
- Select the test you want to print.
- Click on Print tab.
- Select a test template.
- Select number of test copies.
- Select answer key (if required).
- Click on Grade.
Grade tests
You have the option to grade tests from your FlashGrade account.
- After you complete your test, scan your tests using any scanner and save into a PDF document. The answer key must be the first page scanned followed by the tests.
- From your FlashGrade user account, go to Assessments.
- Select the test you want to grade.
- Click on Grade tab.
- Choose your PDF document.
- Click on Grade.
Get test insights
You can view in-depth statistical data of your test and students. This includes classroom wide-performance, student performance over time and item analytics.
- From your FlashGrade user account, go to Assessments.
- Select one of your tests.
- Click on Insights Icon to open a report of your test.
Get student insights
You can view test data for individual students.
- From your FlashGrade user account, go to Students.
- Select one of your students.
- Click on Insights Icon to open individual student results of the test.
Get images of tests
After grading tests, all images of tests are stored in FlashGrade Cloud and accessible to users.
- From your FlashGrade user account, go to Assessments.
- Select one of your tests.
- Click on Results tab.
- Click on Page Icon of any of the student tests to open the image of the test.
Export grading data
Easily download student scores and transfer them to your Gradebook.
- From your FlashGrade user account, go to Assessments.
- Select one of your tests.
- Click on Results tab.
- Click on Export Data to generate a CSV file of your student data.

Grading from multifunction printers
Get the benefits of printing and grading tests from a multifunction printer.
Only available in Toshiba e-STUDIO™ multifunction printers.
Print tests
Print multiple-choice tests directly from your Toshiba multifunction printer.
- Tap on FlashGrade on the printer panel to start the application.
- Tap on Print Test.
- Select a test template.
- Select number of test copies.
- Tap on Print to generate a unique answer key and test sheets.
Grade tests
Grade multiple-choice test sheets directly from your Toshiba multifunction printer.
- Tap on FlashGrade on the printer panel to start the application.
- Tap on Grade Test.
- Load your answer key on top followed by the test sheets in the document feeder.
- Tap on Grade.
- After the tests are graded, an overview of your test results will be displayed on the printer panel. This includes the number of tests graded and average score.
- Color Mode: Black and White
- Original Mode: Text/Photo
- Resolution: 200 dpi
- Single/2-Sided: Single
Select the following Scan Settings for optimum grading results:
Print test report
Print student results fomr your Toshiba multifunction printer.
- After grading tests, tap on Print Report.
- A report will be printed that includes individual student results.

Configuring multifunction printer
These instructions will help you set up the FlashGrade license in your multifunction printer. Once you complete the setup, you can start printing and grading multiple-choice tests directly from the printer. FlashGrade can be configured only in Toshiba e-STUDIO™ multifunction printers.
Enable EWB
FlashGrade uses the Embedded Web Browser (EWB) to show the application in the control panel of the multifunction printer. Please note that EWB must be enabled on the device before FlashGrade can be configured. EWB is a standard option on most Toshiba devices, however, the following models may need optional External Interface Enabler (GS-1020) to enable EWB.
- e-STUDIO 2000AC
- e-STUDIO 2500AC
- e-STUDIO 2050C
- e-STUDIO 2550C
Setup FlashGrade for eBN Devices: e-STUDIO8508A /7506AC /5008A / 5005AC Series
Toshiba multifunction printers require 3 steps to configure FlashGrade.
- Add Flashgrade to server registration.
- Launch TopAccess using your admin account.
- Navigate to Administration > Setup > EWB.
- Go to Server Registration Setting and enter the URL provided by the FlashGrade support team.
- Click Add.
- Click Save button at the top of the EWB page.
- Add FlashGrade to home screen.
- Launch TopAccess using your admin account.
- Navigate to Administration > Setup > EWB.
- Go to URL List Home Screen and click Add.
- Enter FlashGrade as the URL Name.
- Enter unique URL provided by the FlashGrade support team.
- Click Save.
- Click Save button at the top of the EWB page.
- Add FlashGrade button on the panel of the printer.
- Launch TopAccess using your admin account.
- Navigate to Administration > Registration > Public Home.
- Click on any blank button.
- Click on Register from URL List.
- Select FlashGrade URL.
- Upload the FlashGrade icon provided by the FlashGrade support team
- Click Save.
Setup FlashGrade for eBX Devices: e-STUDIO6570C / 6550C / 4540C / 857 / 856 / 507 / 456 / 5055C / 2550C / 407CS / 527S Series
Toshiba multifunction printers require 3 steps to configure FlashGrade.
- Add Flashgrade to server registration.
- Launch TopAccess using your admin account.
- Navigate to Administration > Setup > EWB.
- Go to Server Registration Setting and enter the URL provided by the FlashGrade support team.
- Click Add.
- Click Save button at the top of the EWB page.
- Add FlashGrade to home screen.
- Launch TopAccess using your admin account.
- Navigate to Administration > Setup > EWB.
- Go to URL List Home Screen and click Add.
- Enter FlashGrade as the URL Name.
- Enter unique URL provided by the FlashGrade support team.
- Click Save.
- Click Save button at the top of the EWB page.
- Add FlashGrade button on the panel of the printer.
- On the Toshiba MFP, tap the Menu button in the panel.
- Select the Registration tab.
- Select any empty button on the screen.
- Select Extension and the FlashGrade URL from the list.
- Tap OK